Fighting, surviving, and getting home
The players' manual
You have a dungeon of your own. All around it is the Wilderness. The whole game is walking out into it, taking what you can, and getting back alive to keep it.
Everything joins up into one circle. You fight things out in the Wilderness. Fighting earns you loot and something called resolve. You carry both home and spend them on rooms in your dungeon. The rooms are your levels, so the next trip out can go further.
There is no skill grinding here. You will never chop a thousand trees to raise a number. Every level you have is a room you built, paid for with what you dragged out of the danger.
Getting around

Left-click the ground to walk there. That is the only way to move — there are no movement keys, and you never hold anything down to walk. Right-click anything to see what you can do with it: attack it, talk to it, chop it, examine it.
Examine is worth using before a fight. It tells you what a monster is wearing, and that decides which weapon you should be holding.
Beside the minimap there is a run switch. Click it to run. Running drains your energy, and when it empties you walk until it comes back.
You can turn and tilt the view but you cannot zoom it. The distance is fixed, because the world is built to be read from one particular angle and there is nothing useful to see from any other. Click the compass at any time to swing back to facing north.
| Left-click ground | Walk there |
| Left-click a thing | Use it, attack it, pick it up |
| Right-click | Open the list of everything you can do with it |
| Arrow keys | Turn and tilt the view (left/right swing, up/down raise) |
| Camera pad | The same thing, on screen, if you would rather click |
| Drag the view | Hold the right or middle button and move the mouse |
| Compass | Face north again |
| Minimap | Open the map of the whole island |
| Run switch | Walk or run |
| Shield button | Raise your shield |
| Weapon chips | Switch between melee, ranged and magic |
That is the whole control scheme. Everything except the camera is done with the mouse: you never move with the keyboard, you click where you want to go.
The arrow keys turn the camera, and that is worth getting into your hands early. Half of playing well in a world drawn at this angle is looking round the side of a building before you walk into what is behind it. The on-screen pad does the same job if you would rather not use keys, and you can use both at once.
The only other key is Escape, which closes whatever window is open, and every window has a close button as well.
Fighting monsters
Click a monster to attack it. From then on you both stand your ground and trade blows on a fixed beat. You swing once every 2.4 seconds and nothing you do makes it come sooner. Standing face to face is not a mistake here. It is the fight.
Every swing is two rolls: whether you connect, and for how much. There is nothing in between a hit and a miss.
If you are carrying a shield, the shield button beside the minimap raises it. Guarding cuts the damage you take to about a third, but you move much more slowly with it up, so it is for weathering a bad moment rather than for travelling.
When a fight begins you are held in it for the first three rounds. After that you are free to walk away, and walking away is often the right move. If you do retreat, keep going until you are well clear, because they will follow.
Bring the right weapon
There are two ways to fight, and they sit as chips in the combat panel. Click one to switch between melee and ranged. The chip marks itself with a little arrow to tell you whether what you are holding is strong or weak against this particular target.
| Use this | Against | Result | |
|---|---|---|---|
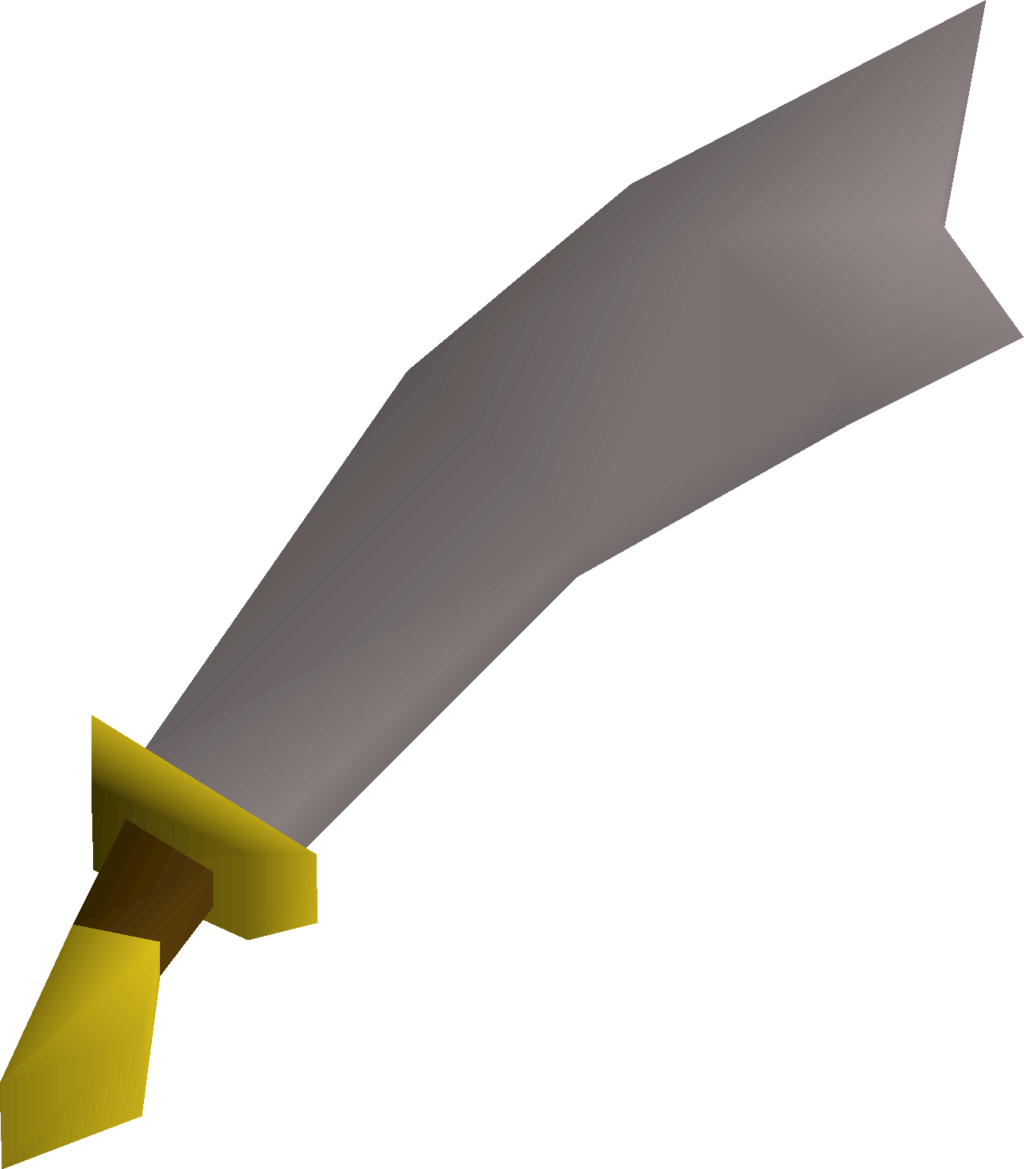 |
Melee | Robes and cloth | Rush them — cloth stops nothing |
 |
Ranged | Hide and scales | Shoot it before it reaches you |
The whole rule is get close to casters, keep away from brutes. Anything in plate or chainmail is simply tough — neither weapon undoes it, so bring food. Right-click and Examine a monster first and it will tell you what it wears and what it is weak to.
Ranged needs a shortbow and arrows, spent as you shoot; run dry and you drop back to your blade mid-fight.
Magic is not a weapon here. It has five spells and none of them do damage — see below.
Magic, and prayer
Both are deliberately small. Magic has five spells and not one of them is an attack. Every spell does something no weapon can:
Bones to Bananas turns every bone in your pack into food — bones are the one thing you always come home with, and food is your health bar. Superheat Item smelts an ore straight into a bar with no furnace. Telekinetic Grab harvests a rock, tree or fishing spot from across the clearing, so you can take the ore that has something standing over it. High Alchemy turns junk into gold at three times its value, and gold is rooms.
And Hush. For forty seconds your resolve stops drawing attention entirely — you smell of nothing, and the pack forgets the extra pull. It is the one answer to the Scent that is not dropping your whole run, and you cast it when it has already gone wrong.
There are three prayers. Burst of Strength for more damage, Thick Skin for less damage taken, and Protect Item, which keeps one more of your things when you die. Your Shrine sets how many prayer points you have to spend on them.
Staying alive
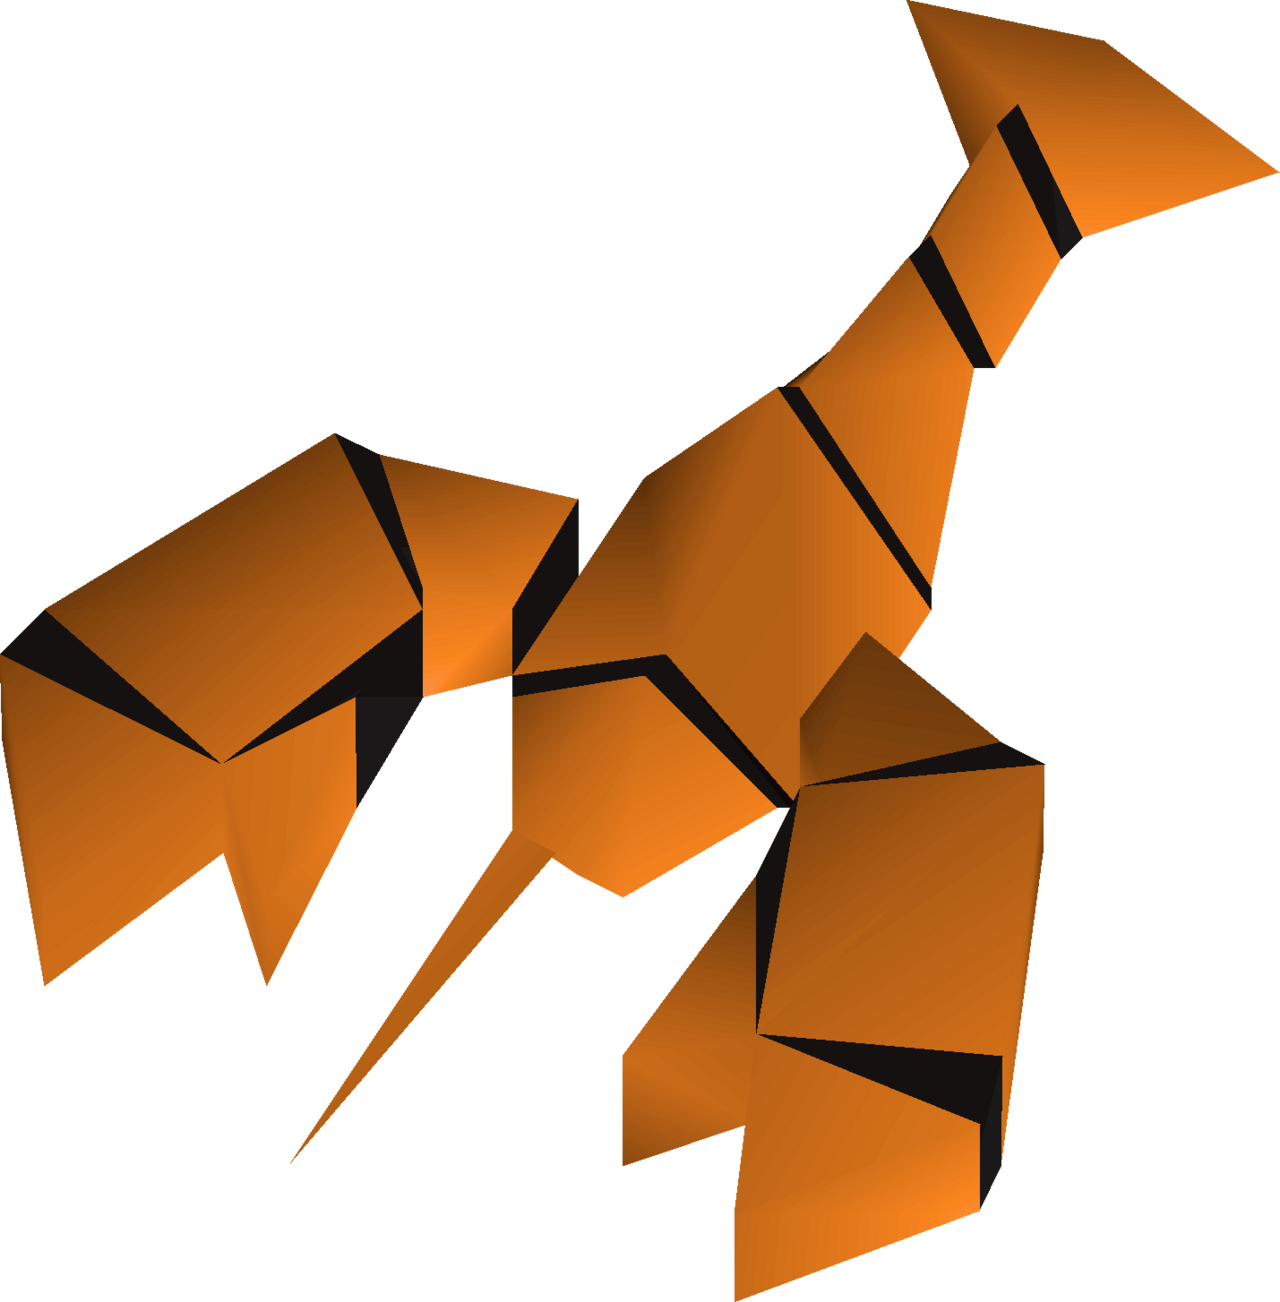
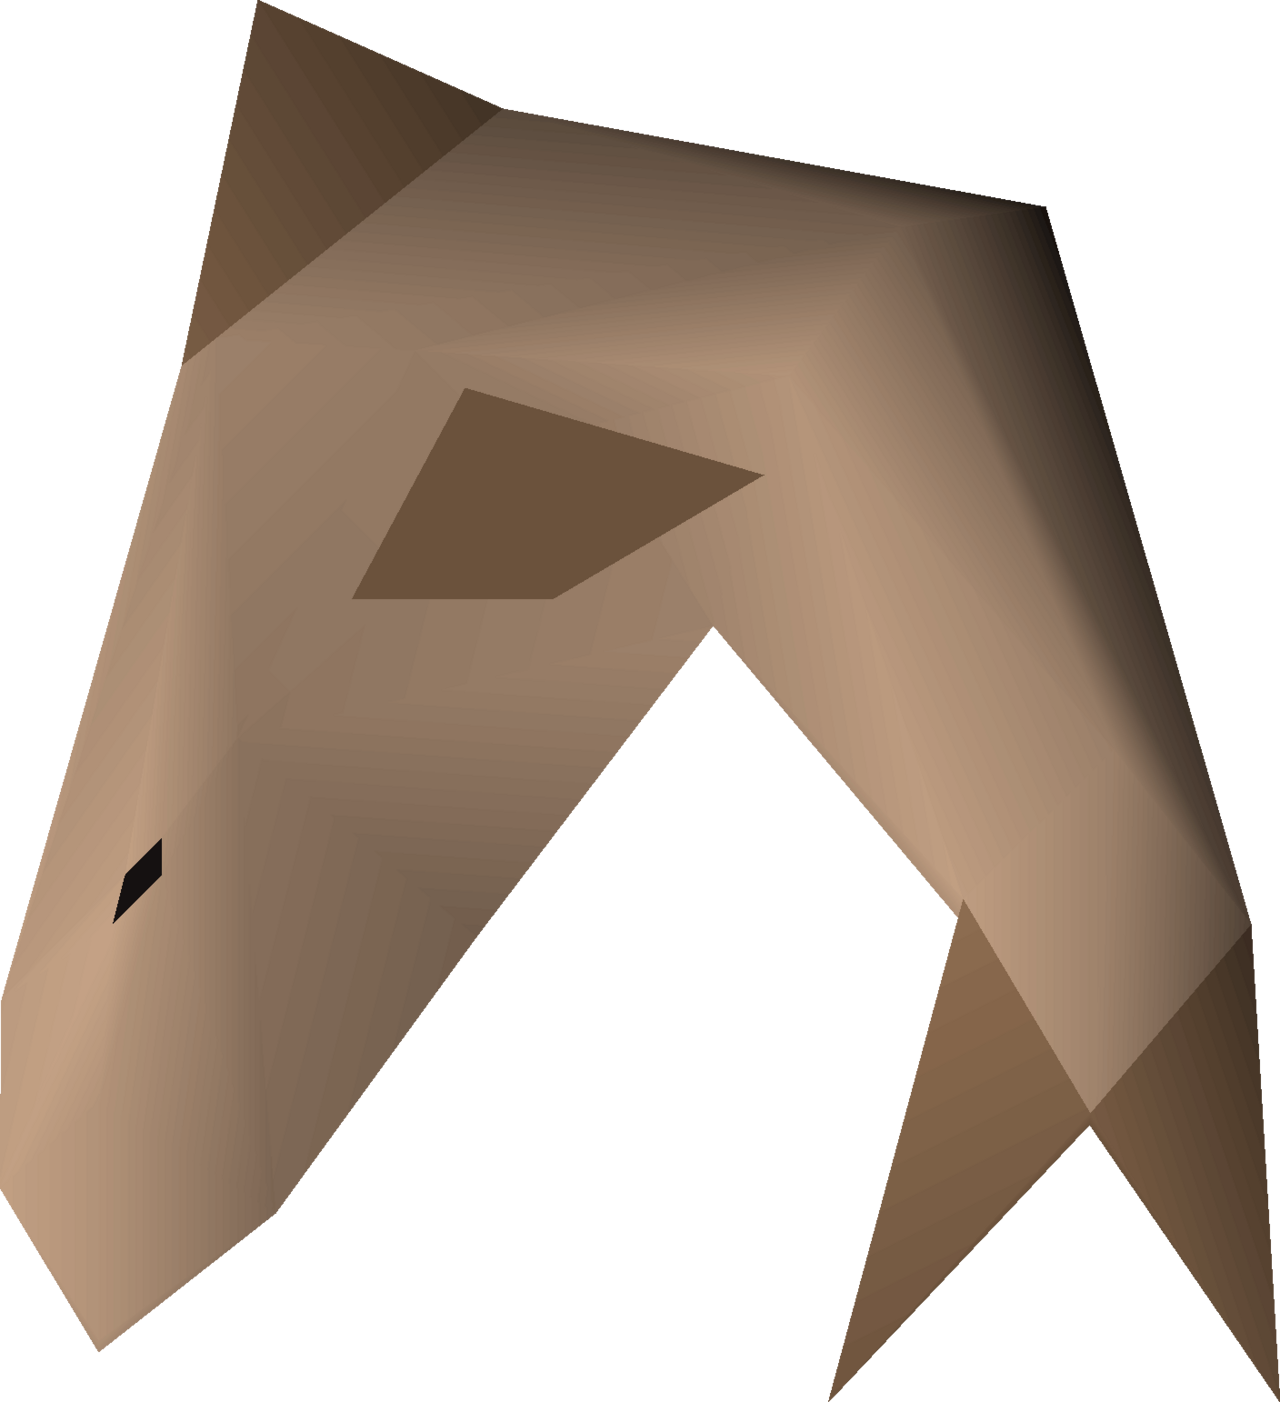
This is the most important page in this manual. Your hitpoints come back at about one per minute. That is far too slow to save you in a fight.
So food is your health bar. Choose food in your inventory and eat it. How far out you can safely go is decided before you leave, by how much food you packed. There is no healing out there that you did not carry in with you.
Turning back with half a bar left is not failing. It is the correct play.
Your dungeon
There is a stair down near where you start. That is your dungeon, and nothing hostile can ever get into it. Down there are your rooms, four farm plots and a storage chest.
Rooms are your levels. Click one to build or improve it, paying with gold and materials you brought home. Each room sets a number.
| Room | What it gives you | |
|---|---|---|
|
Training Hall | Melee damage, and your maximum hitpoints |
|
Archery Range | Damage and accuracy with a bow |
 |
Rune Altar | Damage and accuracy with spells |
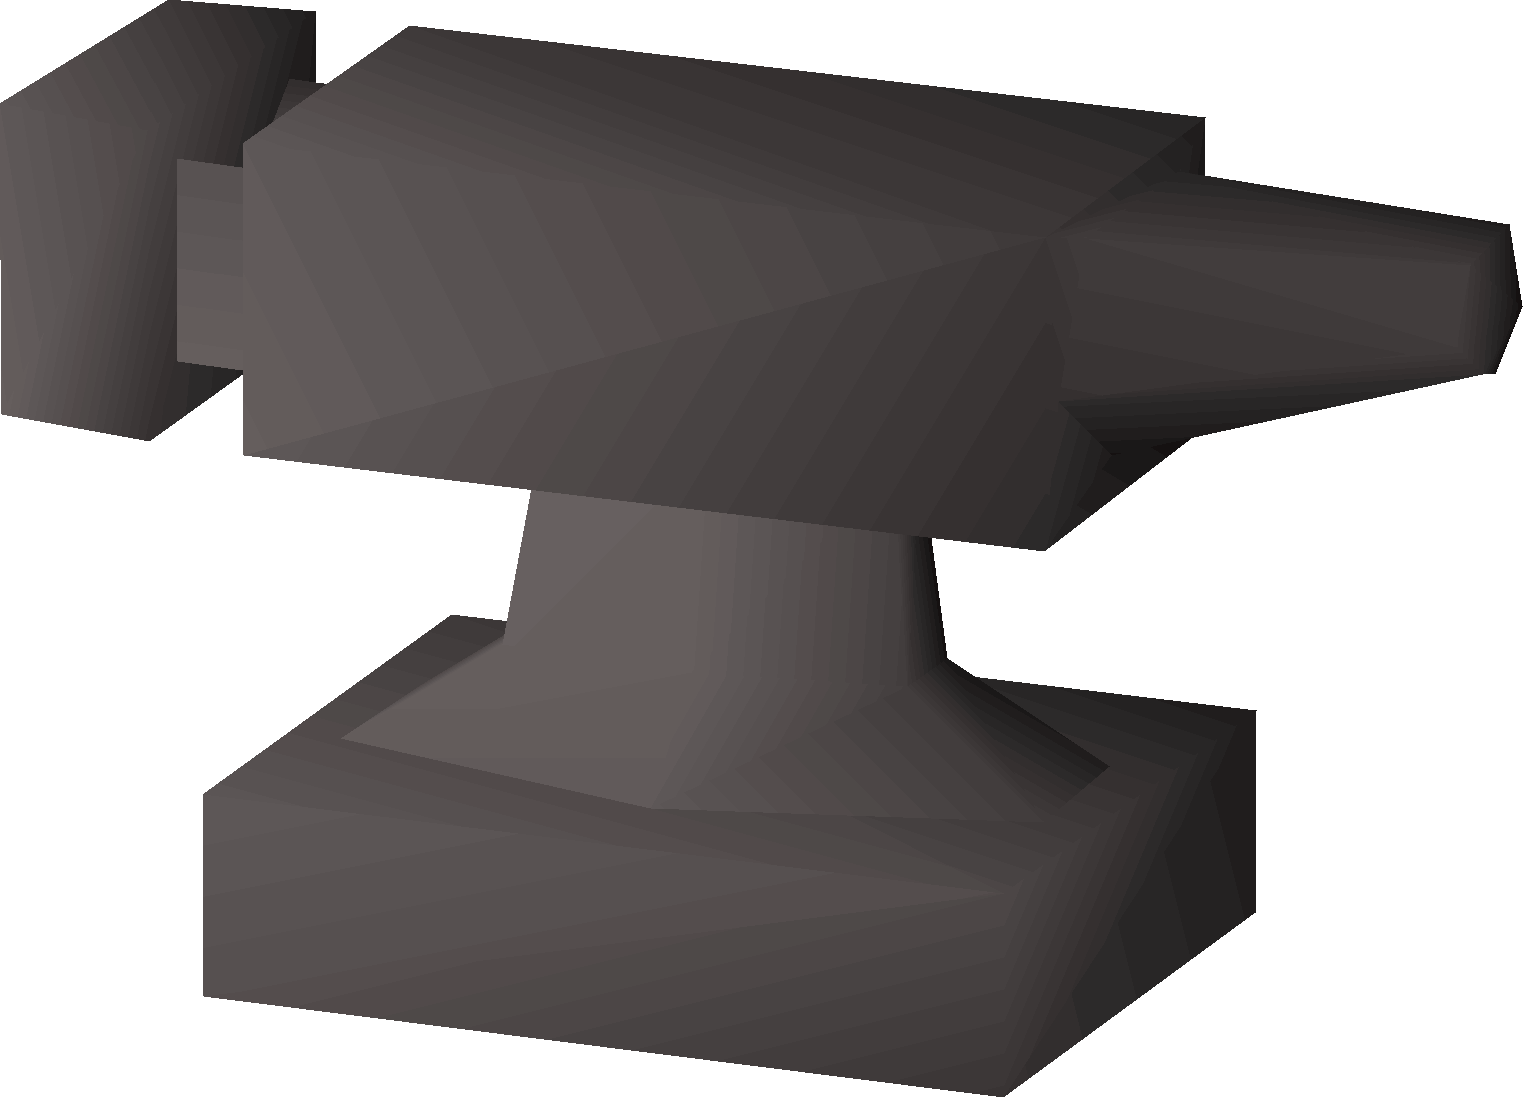 |
Forge | Better gear you are allowed to smith |
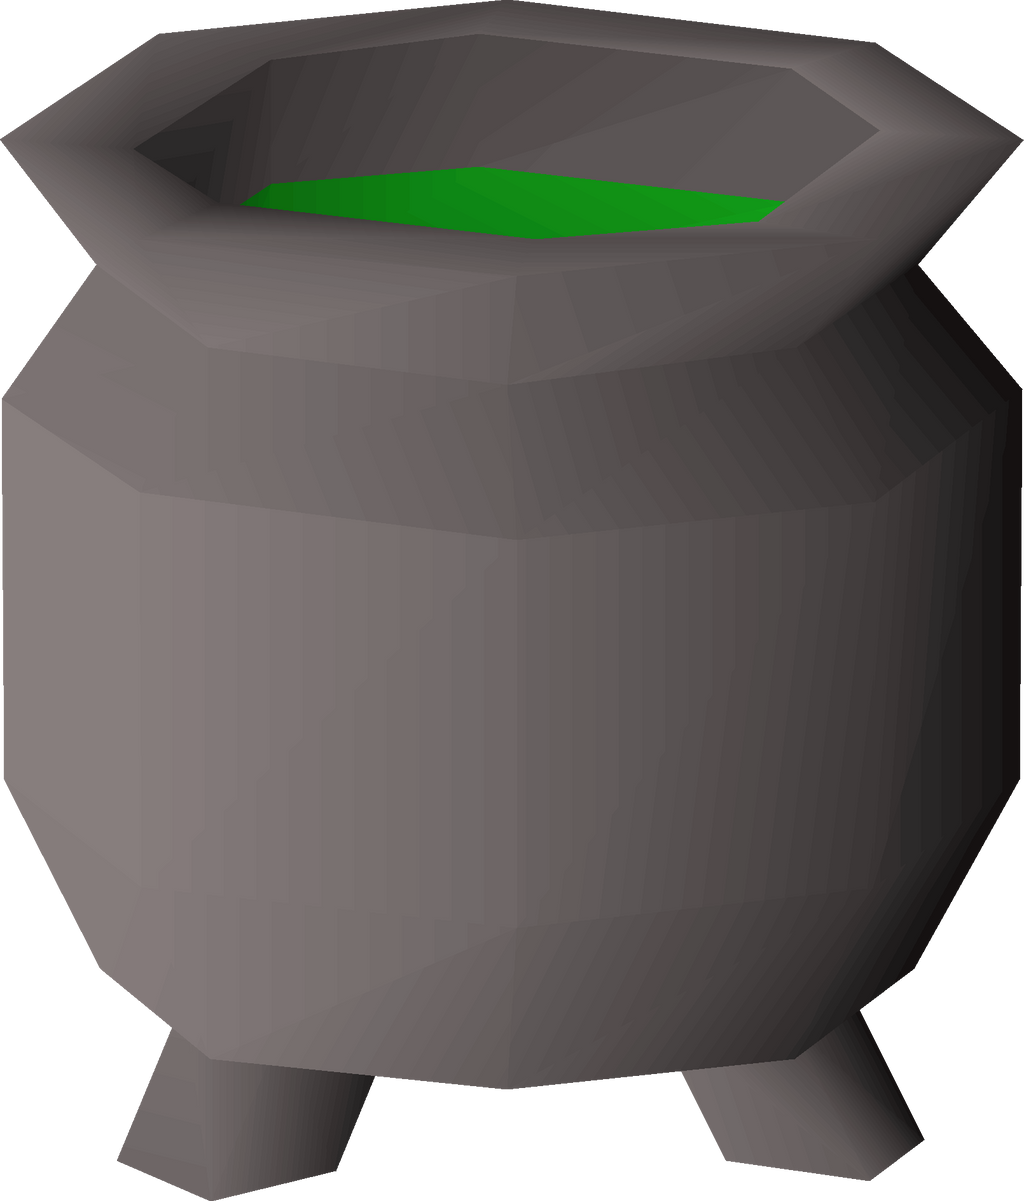 |
Larder | Better cooking, and bigger harvests |
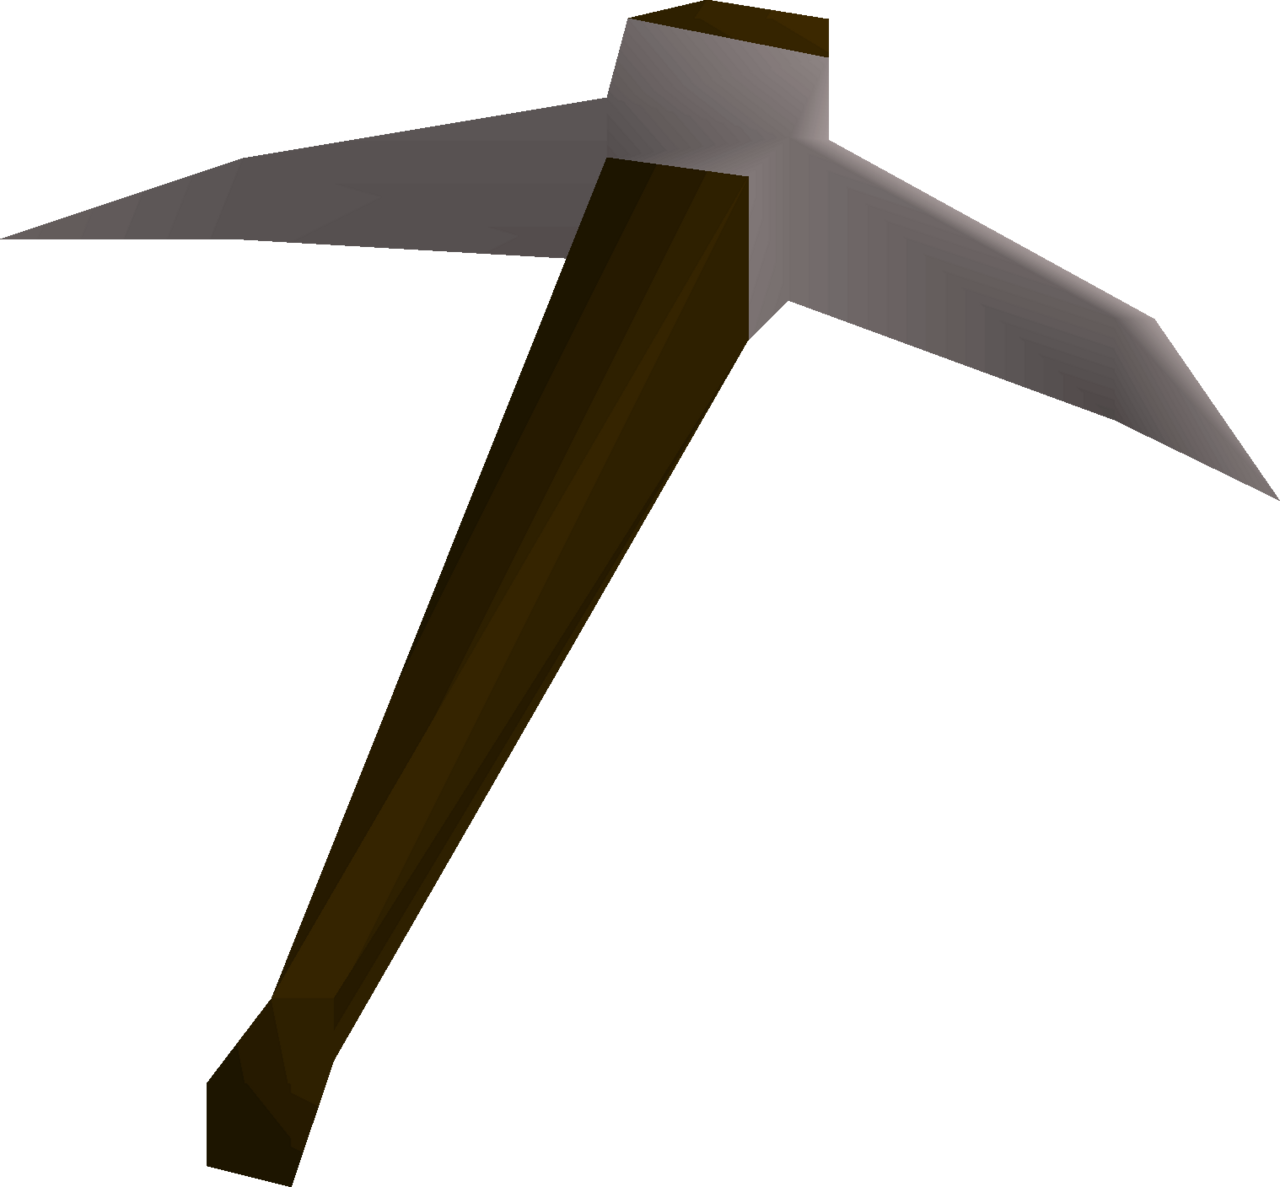 |
Tool Shed | Faster mining, fishing and woodcutting |
 |
Shrine | One more prayer point for each level |
Build your Training Hall first. At level 1 you hit for up to 8 and have 18 hitpoints. At level 20 you hit for up to 36 and have 75. Each room physically grows as you improve it, so you can see how far along you are from across the floor.
Your storage chest is safe, free and always there. It will hold anything, but it cannot break the seal on a loot note. Only the banker does that, and she does not live here.
Ore, logs and hides are not a career. They are a shopping list. Gather them because rooms cost them.
The Wilderness
Step past the ditch and you are in it. The further you go from the middle of the island the deeper it gets, from level 1 at the edge to level 56 at the far coast. Your current level shows on the skull at the top of the screen. Inside your own dungeon there is no level at all. That is the only truly safe ground you have.
There are four rules out here, and all four are worth learning before you need them.
One. You can only fight things near your own level. How near depends on how deep you are: at wilderness level 5 that means five levels either way, and at 40 it means very nearly anything. Going deeper is how you reach bigger prey, not merely where it happens to live.
Two. Start a fight and you are skulled for twenty minutes. Defending yourself against something that came for you costs nothing. But attack something that was minding its own business and you are marked, and if you die while marked you lose everything you are carrying. Unmarked, you keep your three most valuable things.
Three. Past level 20 you cannot teleport. The way home is the way you came.
Four. Past level 20 everything attacks at once. Nearer the edge, monsters queue up and fight you one at a time. Deeper, the whole pack comes in together. This is why you do not pick a fight beside a goblin camp.
Resolve, and why it is dangerous
Every monster you kill past the ditch builds resolve, and it builds faster the deeper you are. Each mark of resolve makes you hit harder and loot richer. You can watch it filling at the side of the screen.
You only keep it by walking home alive. Die out there and every mark of it is gone.
Here is the catch, and it is the heart of the game. Resolve is a scent. The more of it you carry, the further away things notice you and the longer they chase. At three marks the Wilderness stops being fussy: creatures that would have ignored you come anyway, and they do not give up. Watch the fog close in around you as it builds. That fog is your warning.
So a good run turns into a running fight. The richer you get, the more the island wants you.
Getting home
Walking is always an option. There are two others.
The levers. There are two, one in the north-west and one in the south-east, both of them fairly deep. Pull one and you are thrown straight back to your own dungeon door, and because you arrived safely your resolve is banked. They work one way only, so they are an escape and never a shortcut out. You still have to reach the lever, which is the point: it turns running away into running somewhere.
The banker. She keeps her counter deep in the Wilderness, past the point where teleporting stops working. She is the only one in the world who will open a sealed loot note. That is why the walk is worth making, and why it is meant to cost you something.
When you die
You will. Out in the Wilderness you drop your things: you keep your three most valuable, or nothing at all if you were skulled. The Protect Item prayer saves you one more. All of your resolve is lost. Die inside the ditch, or in your own dungeon, and you lose nothing.
That is the whole bargain. Everything you are carrying is at risk until you are standing back at your own door.
If you remember only five things
Food is your health bar, so pack more than you think you need. Click the weapon chip that matches their armour. Build your Training Hall first. Resolve makes you strong and makes you hunted, so leave before you have to. And nothing is yours until you are home.